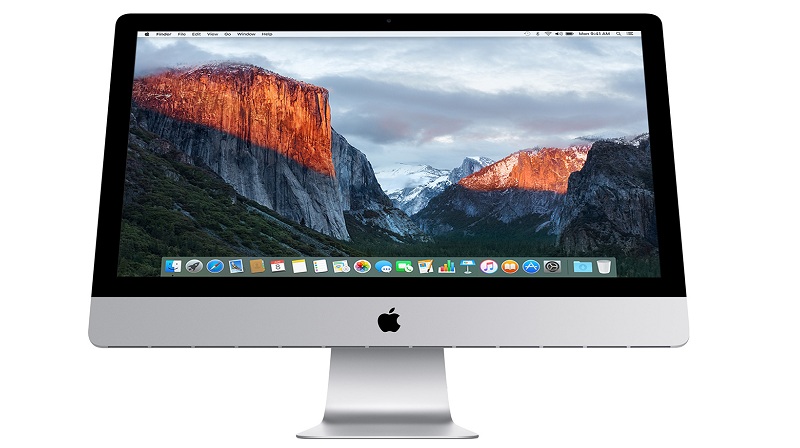
As technology continues to evolve, the need for increased screen real estate has become essential for many Mac users. Whether you’re a designer, developer, or simply someone who values productivity, using two Mac monitors as one screen can greatly enhance your workflow and efficiency. In this step-by-step guide, we will walk you through the process of setting up and using dual monitors on your Mac, seamlessly merging them into one expansive workspace.
Step 1: Check Compatibility and Hardware Requirements
Before you begin, ensure that your Mac is compatible with dual monitor setups. Most modern Macs support this feature, but it’s always a good idea to check. You will also need:
- Two monitors of the same resolution and aspect ratio (if possible).
- A Mac with sufficient ports for connecting both monitors (usually Thunderbolt, HDMI, or USB-C).
- Appropriate cables and adapters to connect the monitors to your Mac.
Step 2: Connect Your Monitors
Connect both monitors to your Mac using the necessary cables and adapters. Ensure that the monitors are powered on and set to the correct input source.
Also Read: 7 Best Screen Recording Software for Windows and Mac Users
Step 3: Access Display Preferences
Now, navigate to your Mac’s System Preferences. To accomplish this, simply click on the Apple icon situated in the upper-left corner of your screen and then choose “System Preferences” from the dropdown menu.
Step 4: Open the Displays Preferences
Within System Preferences, locate and click on the “Displays” option. This will open a new window with various display settings.
Step 5: Arrange Displays
In the Displays preferences window, you will see a tab labeled “Arrangement.” Click on it to access options for configuring your dual monitor setup.
Step 6: Arrange Your Monitors
You will see representations of your connected monitors in the Arrangement tab. To use them as one screen, drag one monitor icon beside the other. This action will create a virtual alignment that combines both screens into one continuous workspace. You can also set which monitor is the primary display by clicking the white menu bar box and dragging it to your preferred screen.
Also Read: 5 Ways A Mac Cleaner Can Improve Your Mac’s Performance
Step 7: Adjust Resolution and Scaling
To ensure the best display quality, click the “Scaled” option and choose the resolution that suits your needs. Depending on your Mac and monitor specifications, you may need to experiment with different scaling options to find the ideal setup for your workflow.
Step 8: Fine-Tune Display Preferences
You can further fine-tune your dual monitor setup by adjusting various display preferences, such as brightness, contrast, and color calibration. These settings can be accessed within the Display Preferences window.
Step 9: Organize Your Workspace
Now that your dual monitor setup is configured, organize your workspace to maximize productivity. You can drag windows and applications seamlessly between the two screens, creating a continuous workspace that makes multitasking and managing multiple apps a breeze.
Step 10: Enjoy Your Expanded Workspace
Congratulations! You’ve successfully set up and configured your Mac with two monitors as one screen. With this extended workspace, you’ll find yourself more productive and efficient, whether you’re working on complex tasks, editing photos and videos, or simply managing multiple projects simultaneously.
Conclusion
Using two Mac monitors as one screen is a powerful way to enhance your workflow and productivity. By following this step-by-step guide, you can seamlessly configure your dual monitor setup and enjoy the benefits of a larger, more versatile workspace. Whether you’re a creative professional or a business user, this setup will help you tackle tasks with ease and efficiency.
You might also like our TUTEZONE section which contains exclusive tutorials on how you can make your life simpler using technology.


