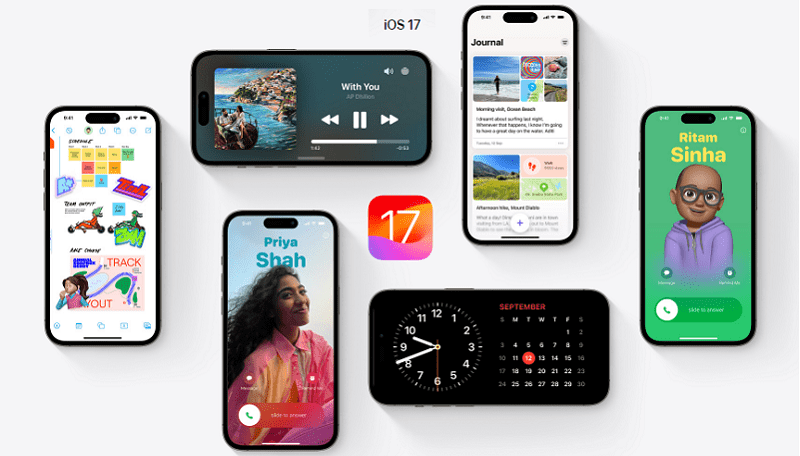
Apple’s iOS 17 brought forth a default notification sound change, causing some users to express dissatisfaction with the update. Whether it was due to a perceived volume issue or a preference for the old sound, iOS 17.2 now allows iPhone users to customize their notification tones.
Before embarking on the process of changing your notification sound, ensure that your iPhone or iPad is running the latest software version. To check for updates, navigate to Settings -> General -> Software Update. You can also read about How to Use and Disable FaceTime Reactions in iOS 17 and macOS Sonoma.
Here’s a step-by-step guide to assist you in setting your preferred sound for default notifications.
How to change the default notification sound on your iPhone
- Open the Settings App: Access your iPhone settings by tapping the gear-shaped icon located on your device’s home screen.
- Go to the ‘Sounds & Haptics’ Tab: Scroll down and choose “Sounds & Haptics” from the list of available options.
- Select the ‘Default Alerts’ Option: While in the “Sounds & Haptics” menu, select “Default Alerts” to proceed with customizing your default notification sound.
- Choose Your New Sound: Select a new sound for the alert tone from the range of options provided. Options include built-in sounds, tones from the Tone Store, or no sound at all.
- Change Haptic Vibration (Optional): In the “Default Alerts -> Haptics” screen, you can also customize the haptic vibration used for notifications.
- Confirm and Save: Press the “Back” button or navigate to the previous screen to confirm and save the changes you’ve made.
By following these steps, you can personalize the default notification sound on your iPhone running iOS 17.2. Remember that this modification only affects apps using the default notification sound, and apps with custom sounds remain unaffected. Additionally, the sound for the Apple Messages app is managed separately through the ‘Text Tone’ preference in the “Sounds & Haptics” settings.
Also Read: iOS 17 Introduces ‘Personal Voice’ Feature: Here is how to set it up
Things to Remember:
- The default alerts setting only controls the sound for apps using the default notification sound (e.g., Facebook and Instagram). It’s important to note that this adjustment specifically applies to apps utilizing the default notification sound. Custom sounds set by individual apps will remain unaffected by this change.
- For the Apple Messages app, the sound is independently managed through the ‘Text Tone’ preference within the “Sounds & Haptics” settings. This means that any modifications to the default alert tone won’t impact the notification sound for the Messages app, as it has its distinct setting for text tones.
Also Read: How to Manually Switch AirPods Between Devices in iOS 17
Reverting to the Previous Notification Sound
If you’ve updated from iOS 16 to iOS 17 and wish to revert to the previous alert sound, follow these steps:
- Access the Sound settings.
- Choose ‘Tri-tone’ as the new Default Alerts setting.
Conclusion
By following these instructions, you can tailor your notification experience on your iPhone running iOS 17.2 to align with your preferences. You can also read about How to use the NameDrop feature, effortless Content Sharing on iOS 17.
You might also like our TUTEZONE section which contains exclusive tutorials on making your life simpler by using technology.


