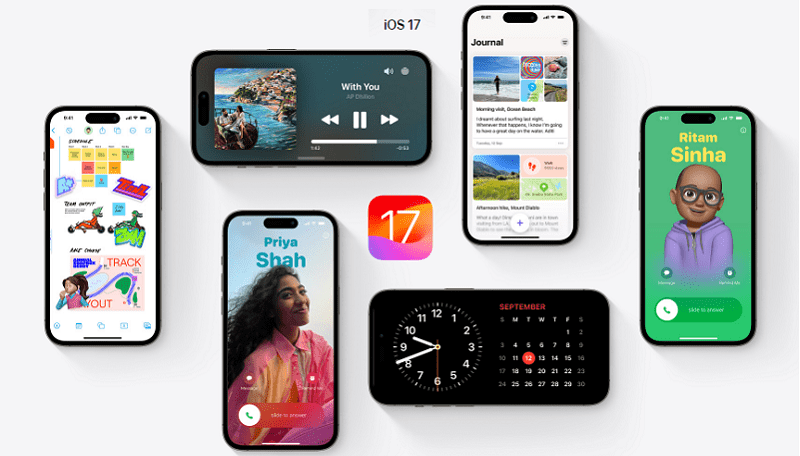
Apple has unveiled a range of innovative features with the introduction of iOS 17, and one of the standout additions is ‘Personal Voice.’ This feature is specifically designed to cater to iPhone users who may have concerns about losing their ability to speak or those with speech disabilities. You can also check the iOS 17 Contact Posters feature which is a creative Revolution in iPhone Calls.
With ‘Personal Voice,’ users now have the ability to securely store and utilize a voice that closely mimics their own for text-based communication on their iPhones. This unique feature empowers individuals to create a voice that is distinctly their own, which can be employed for text input in various scenarios, including FaceTime conversations, phone calls, and assistive communication applications. It’s important to note that ‘Personal Voice’ is available in select languages. Also, read about how you can mute a specific contact on your iPhone for undisturbed focus.
This feature holds significant value for individuals dealing with health conditions like ALS that can impact their speech capabilities. What sets ‘Personal Voice’ apart is that it doesn’t merely provide any voice but rather replicates the user’s own voice, ensuring that it’s securely stored on their iPhone. This personalized voice can be employed in regular phone conversations, video calls, and even with third-party alternative and augmentative communication (AAC) applications. You can also read about how to locate your lost Apple Watch using your iPhone.
It’s worth mentioning that ‘Personal Voice’ is intended for personal use exclusively. Users can rest easy knowing that their Legacy Contact won’t have access to it. Your voice remains private and secure, right on your iPhone.
Here’s a step-by-step guide to assist you in setting up ‘Personal Voice’ on your iPhone:
- Navigate to the Settings app: Ensure your iPhone is running iOS 17, and then open the Settings app on your device.
- Go to the Accessibility tab: Swipe down in the Settings menu and tap on “Accessibility.”
- Access Personal Voice: Scroll down again until you find the “Speech” section, then select “Personal Voice.”
- Create your Personal Voice: Tap on “Create a Personal Voice” to initiate the voice-saving process.
- Follow the prompts: Follow the on-screen instructions. Record your voice in a quiet environment, maintaining a distance of approximately 6 inches from your mouth. Speak naturally, and if necessary, you can pause and resume the recording. If the feature isn’t complete, try charging your iPhone with a wired cable overnight, not wirelessly.
- Save and name your voice: You have the option to name your saved voice or use the default name. There will be a sound check to ensure clarity before you begin recording.
- Start recording: Once you’re ready, the recording process will guide you through a series of phrases, progressing automatically from one phrase to the next.
- Save your progress: At any point during the recording, you can tap “Done” in the top left corner to save your progress and return later. By tapping the back arrow you can also go back to a previous phrase if required.
- Enable Live Speech: After setting up your Personal Voice, you can enable the Live Speech feature. Go to “Settings,” then “Accessibility,” and set up a triple-click shortcut for this feature.
In conclusion, having saved your ‘Personal Voice’ and activated Live Speech, you are now equipped to use it for both typing and speaking in apps like FaceTime, Phone, and other communication aids. This feature is a valuable asset for those facing speech challenges and a handy tool for anyone looking to safeguard their unique voice. Rest assured, your ‘Personal Voice’ remains securely stored on your iPhone, alleviating any concerns about its privacy.
Also Read: How to Transfer Every Picture from Your iPhone to an External Drive?
For other tutorials, visit our TUTEZONE section. You will be glad that you paid a visit there. Trust me. It’s worth visiting.