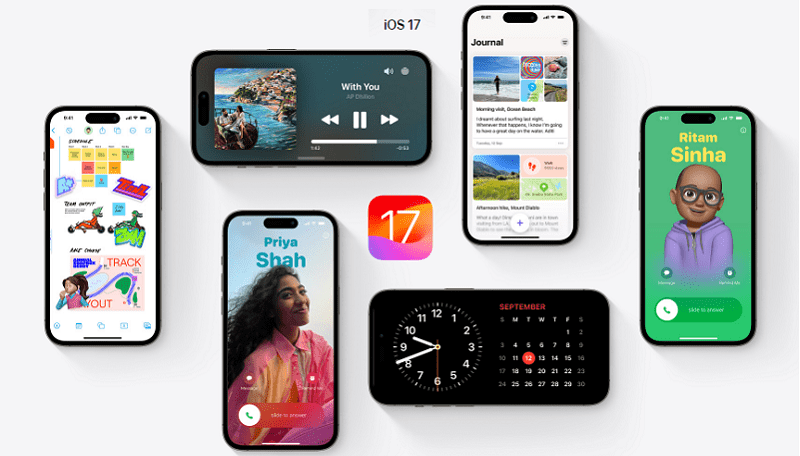
In the most recent updates, including iOS 17, iPadOS 17, and macOS Sonoma, Apple has introduced an innovative tool known as Personal Voice. This feature allows users to generate a synthesized voice that closely mirrors their own, injecting a personalized touch into digital interactions. Whether engaging in FaceTime calls, phone conversations, using assistive communication apps, or participating in face-to-face discussions, Personal Voice adds a distinctive and authentic element to messages.
To optimize the utilization of Personal Voice, make certain that your device meets the essential requirements: iPhone 12 or a later model, iPad Air (5th generation) or a more recent version, iPad Pro 11-inch (3rd generation) or later, iPad Pro 12.9-inch (5th generation) or a subsequent iteration, or any Mac featuring Apple silicon. Additionally, ensure that you have Face ID, Touch ID, or a device passcode/password configured to enhance security. You can also read about How to Use and Disable FaceTime Reactions in iOS 17 and macOS Sonoma.
Creating your Voice is a simple process. Follow these steps:
On iPhone or iPad:
- Open the Settings app.
- Tap Accessibility, then select Personal Voice.
- Select ‘Create a Personal Voice’ and adhere to the onscreen instructions for recording your voice.
- Feel free to pause and resume the recording process as required.
On Mac:
- Navigate to Apple menu > System Settings.
- Click Accessibility, then select Personal Voice.
- Select ‘Create a Personal Voice’ and proceed to follow the onscreen instructions for recording your voice.
- Similar to iOS, you can pause and resume recording sessions.
It’s important to note that the recording process takes place securely on your device overnight while it’s charging and connected to Wi-Fi.
Also Read: iOS 17 Introduces ‘Personal Voice’ Feature: Here is how to set it up
Managing your voice is straightforward. If you wish to delete a Personal Voice:
On iPhone or iPad:
- Open the Settings, tap on Accessibility, and then select Personal Voice.
- Choose the voice you want to delete and authenticate.
- Tap ‘Delete Voice’ and confirm your choice.
On Mac:
- Go to Apple menu > System Settings, click Accessibility and choose Personal Voice.
- Choose the voice, input your password, and click ‘Delete Voice’ to confirm.
Remember, once a Personal Voice is deleted, it cannot be recovered as it is stored solely on the device and does not get backed up or saved on Apple servers.
Also Read: How to Manually Switch AirPods Between Devices in iOS 17
To use the Personal Voice feature, you can pair it with the Live Speech feature. When Live Speech is activated in the Accessibility settings, simply type, and it will speak the written text using your Voice, creating an authentic representation of your voice.
You might also like our TUTEZONE section which contains exclusive tutorials on making your life simpler by using technology.


