Have you ever encountered a scenario where you need to sign a document and send it back to the sender or client? This process can be quite cumbersome.
If you haven’t, let us guide you through it:
Print the document → Sign it → Scan the document → Send it back.
But what if there was a way to streamline this digitally, making it faster and more efficient?
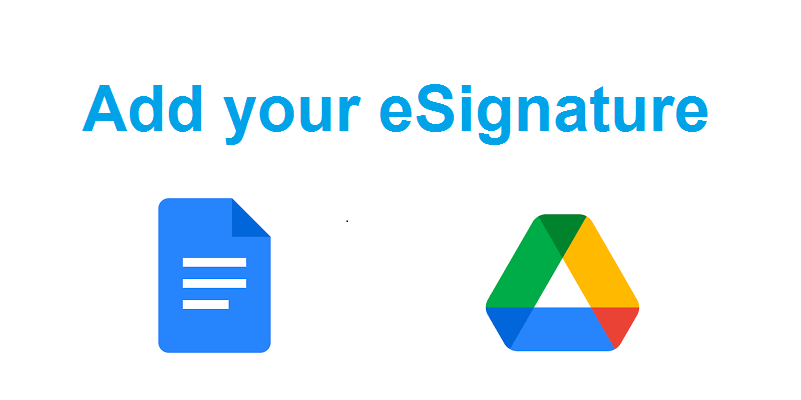
Recently, Google introduced the eSignature beta for Google Docs, allowing users to seamlessly request and incorporate signatures into official contracts and documents directly within the Google Docs platform.
Also Read: 6 Advanced Google Drive Tips You May Not Know About
Although the feature is still in its beta phase, it is an open beta program, implying that it will become accessible to users over the next few weeks. While you await its availability, here’s a rundown of the steps to follow for requesting or adding a signature using Google Docs.
Enrollment and Eligibility: The eSignature feature for Google Docs is currently in beta. Users with a Workspace Individual account should have access to this feature. For other eligible Workspace plans, guidance on the beta sign-up process will be provided soon. It’s worth noting that eSignature requests can be sent to anyone possessing a Google Account, even if they don’t subscribe to Google Workspace Individual. Recently, Google has released a feature to create an Email Draft in Google Docs.
Steps to Create a Document and Request an eSignature:
- Navigate to drive.google.com, create a new document, or open an existing one.
- Go to the “Tools” menu and select the eSignature option.
- Drag and drop the required fields into the document: Signature, Initials, Name, and Date Signed. You can include all fields or choose as per your requirements, with a maximum limit of 200 fields of any type per document.
Steps to Send an eSignature Request:
- Once the necessary fields are added, click on “Request Signature” in the right-side panel.
- Please note that only collaborators who own or possess editing access to the document can access this button. It won’t be available if you lack these permissions.
- Provide a title for the generated PDF file.
- Enter the recipient’s email address.
- Optionally, include a personalized message that will accompany the eSignature request email.
- Click “Request Signature.”
Upon successful creation of the eSignature request:
- A PDF file is generated from the document and shared with the recipient, granting them view access.
- An email notification containing a link to the document is sent to the recipient.
Steps to Sign an eSignature Request:
- Access your email client and locate the email account where the eSignature request was sent.
- Open the email notification linked to the eSignature request.
- Click the provided link within the email. Pro Tip: If you choose to open the PDF file directly from your Drive, select the “Sign” option to proceed with the signing process.
- Choose an eSignature field within the document.
- Enter your full name and initials in the designated fields.
- To confirm your signature select “Adopt and Sign”.
- Once all required signature fields are completed, click “Mark Complete.”
- Now accept the presented Terms of Service.
- Finally, click “Agree & Continue” to move forward.
You might also like our TUTEZONE section which contains exclusive tutorials on how you can make your life simpler using technology.