If you’re looking to design a great backdrop for an event or a party, you need to have a competitive design tool for designing your backdrop. A good tool or software can make or break your backdrop design. It can convert an average design into a great backdrop design that captivates your audience’s attention.
Hence, choosing an optimal tool can be challenging. That is where Adobe Illustrator comes into play. Designing a backdrop using the various tools available in Adobe makes the job super easy. It helps you design great backdrop designs that enhance the environment of any event or party you’re planning for.
Adobe Illustrator is a great platform for creating a few prototypes for your backdrop before finalizing a digital product. It’s a versatile tool with different features that help design a backdrop. However, you can also check a few best Adobe Acrobat alternatives.
How to Create a Backdrop in Illustrator
We’ll be looking at some detailed steps to help you get started with backdrop designing in Illustrator. These steps give you a head start before exploring the different functions/tools available in Adobe Illustrator.
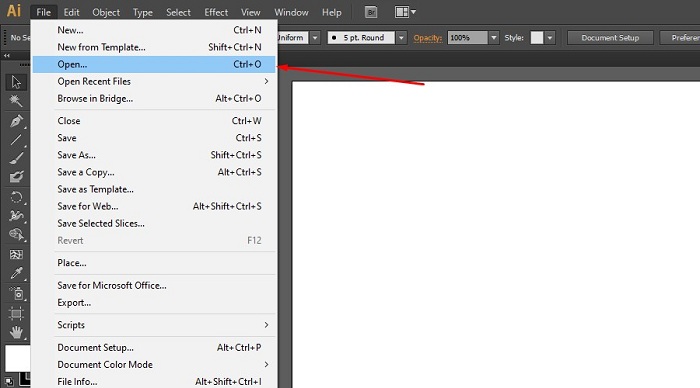
Select New File

After turning the software on, you must work on a new file. Choose the file option at the top left corner and click “New.” This should open a new blank template where you can start executing your design. For the best results, ensure that the color mode is set to CMYK.
Select Artboard Size
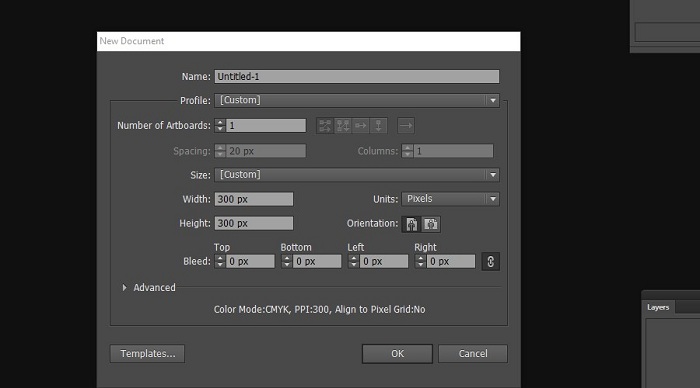
Choosing the right dimensions is one of the most important elements for designing a backdrop. You cannot choose an A3-sized poster and then enlarge the dimensions to be printed on a larger scale.
The most commonly sized backdrops have dimensions 96 x 120 inches. The design should fully cover the backdrop. Thus. The dimensions help cater to a large group of people standing in front and taking pictures.
After setting the dimensions, you can set different elements like typography, adjust the designs, and more. Choosing the right-sized artboard is important, so everything follows a proper hierarchy when designing the backdrop.
Open Graphics
The next step is uploading the graphics. Don’t worry about the spacing or aligning the graphics at this stage; you can tweak the small changes later. If you’re designing a step-and-repeat backdrop, you can copy and paste the graphics instead of importing them again and again.
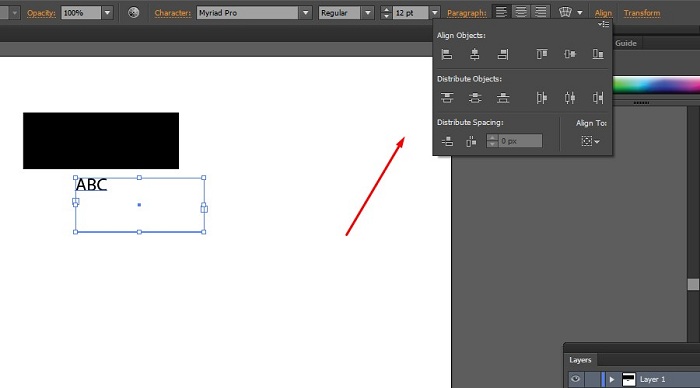
Graphics alignment is also not a big problem. For instance, if you want the graphics to be aligned horizontally, choose all the graphics and click on “Horizontal Distribute Center.” This function helps to space the graphics equally in a single line.
You might have to make some changes in your backdrop design, so feel free to toggle with the tools till you get your desired results. Also, read about Adobe Lightroom auto setting is now powered by AI.
There is another function called “Group.” You can use this tool to group several objects on the backdrop design, so they act as a single entity/object.
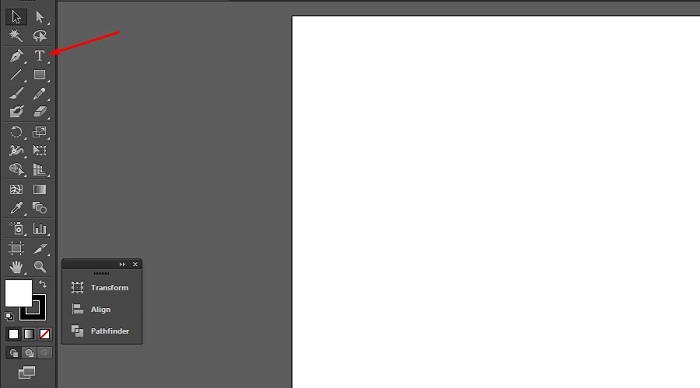
Draw Shapes
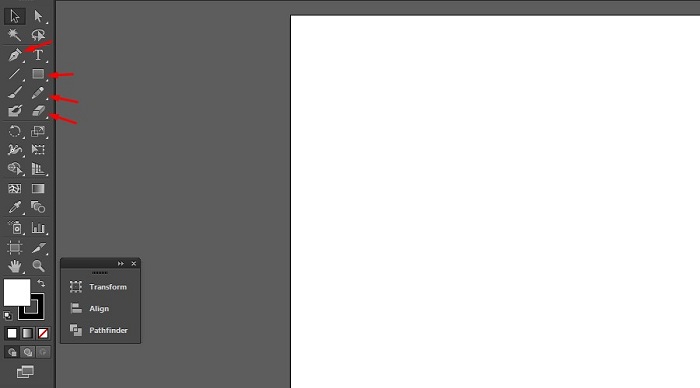
A tools panel on the left side allows you to add patterns or draw anything for your backdrop. Some of the most used tools include the pen tool, text tool, eraser tool, and shape tool.
Moreover, you get so many tool options in a single tab. You can start by making a simple rectangle or any other shape and use the built-in functions in Adobe Illustrator to enhance these shapes.
For example, there is an option where you can include pattern designs to your simple shape. You can work on enhancing the shape from scratch, but using these tools helps you create a more professional design and save time.
You can use these functions by selecting the shape and then clicking on the “style” tab that appears. After choosing a pattern, you can play around with the colors and add or delete shapes in your backdrop design.
Type Your Message
After you’ve decided on a layout, the next step is to include text. Backdrop designing in Illustrator is very straightforward. So, if you’re designing a backdrop for an office event, birthday party, or random event, you should add text.
Make sure to increase the font size so it is visible when printing the backdrop. Increase the font size of the message you want to enunciate while keeping a smaller font for the non-significant information you’d want to include.
Aligning
After you’ve inserted the text, the next important factor is to take care of the alignment. We’ve talked about alignment before, but it is necessary to ensure the text, graphics, and layout align perfectly when you finalize the design.
Saving the file as EPS or AI
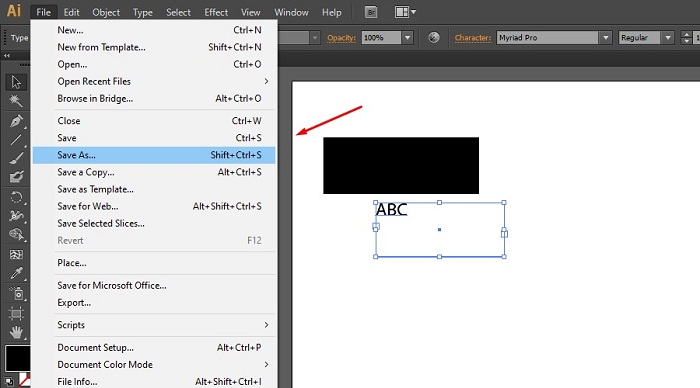
EPS and AI are vector file formats. EPS stands for Encapsulated Postscript, which helps save images, text, and backdrop designs you re-edit at any time.
Conversely, AI contains a lot of attention to detail and information, making it ideal for in-depth editing. Exporting your backdrop design in both options is beneficial and preserves the design perfectly.
Conclusion
We’ve summarized everything that can help you design a great backdrop in Adobe Illustrator. However, if you face any issues while designing backdrops, our design team will be more than happy to assist you with your backdrop design requirements and provide a great printed backdrop.
You might also like our TUTEZONE section which contains exclusive tutorials on how you can make your life simpler using technology.