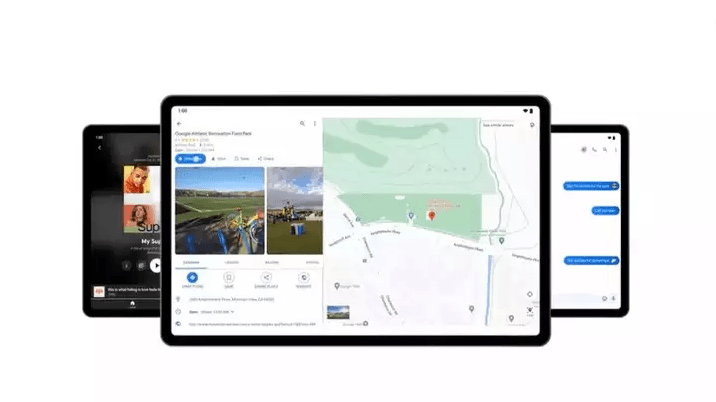
Google Maps continues to evolve, and now, it lets you add a personal touch to your favorite places with the introduction of emoji labels. This new feature not only adds a delightful element to your Maps experience but also simplifies the process of identifying and locating your special destinations. You already have the steps to know your location history in Google Maps.
Utilizing Emojis with Google Maps Saved Places
Whether it’s your cherished café, a hidden gem of a park, or a must-visit restaurant, the use of emoji labels makes navigation a breeze. Moreover, you can access your preferred locations seamlessly across various devices, including your computer, phone, or tablet.
To get started, keep these key tips in mind: assign private labels to unnamed addresses for effortless retrieval, log in to your Google Account to save and access your favorite places, and note that Saved Lists have a limit of 500 entries to ensure smooth display. Here’s a step-by-step guide on how to assign emojis to your Saved Places in Google Maps.
Assigning Emoji Icons to Your Saved Places Lists
To begin using emoji labels for your Saved Places, follow these steps:
- Open the Google Maps app on your device.
- Tap on the ‘Saved’ tab at the bottom of the screen.
- Scroll down to the “Your lists” section, where your saved locations are categorized.
- Select the list you want to add emoji labels to by tapping on its icon.
- At the top of the list, tap the ‘Choose icon’ button.
- Choose an emoji from the available options.
Once you’ve assigned an emoji to your list, each item within that list will have a corresponding emoji icon.
How to mark your Google Maps Saved Places using an emoji
By default, Google Maps sets all your lists to ‘hidden’ on the map to prevent clutter. However, you can choose to display specific lists with emoji icons on the map using these steps:
- Return to the ‘Saved’ tab in the Google Maps app.
- Scroll down to the ‘Your lists’ section.
- On the right side of the list, you want to make visible, tap the three-dot menu button (⋮).
- Select ‘Show on your map.’
This action ensures that the locations within the selected list, each labeled with its corresponding emoji, will be visible on the map.
Remember that displaying too many lists on the map can lead to a cluttered interface, so select the ones that matter most to you for easy identification.
In Conclusion
With these straightforward steps, you can enhance your Google Maps experience by using emoji icons to identify and organize your favorite places. Enjoy smoother navigation and quicker recognition of your saved spots with this fun and practical feature!
You might also like our TUTEZONE section which contains exclusive tutorials on making your life simpler by using technology.


