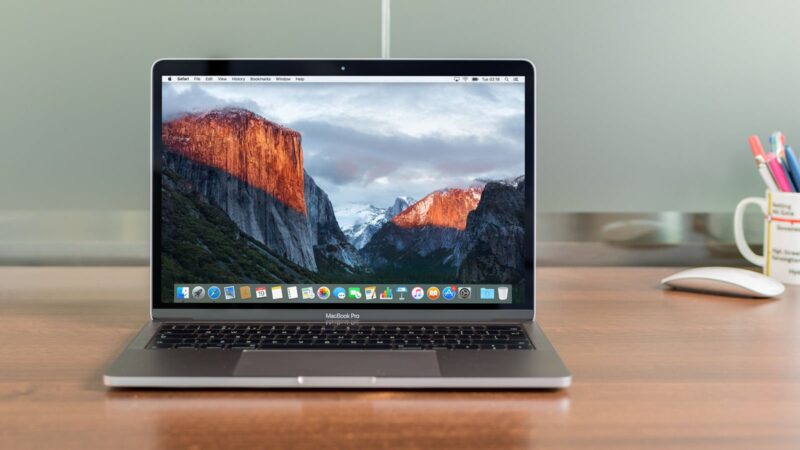
When you buy a Mac device for the first time, the company automatically assigns a name to your device based on the information that you provide. For instance, when I bought the MacBook Air, my device was named something like “Derin’s MacBook Pro”.
You might like an Apple device being called after your name. But it can also be annoying at times. For instance, if you have joined a public network, the name of your device might be visible to others in the network. This will let them know that you are using the network. If you don’t have any issues with others knowing your name, greetings to you. 😊
Or else if you are someone who is concerned about privacy matters like this, you are at the right place right now. Because here in this post, we are going to guide you on how you can change the name of your Mac devices.
How to change name of a Mac
Follow the step-by-step directions below to change the name of Mac
- Select the Apple icon on the left-hand side of the Menu bar.
- Now choose System Preferences.
- Find the Sharing icon and click on it.
- Now at the top of the window, delete the name of your Mac.
- Now enter your new name.
- Close the sharing window.
However, please note that following this process will also change the local network address of your device. And therefore, any other devices or apps that rely on this address will no longer work.
Share us if you have liked this tutorial of ours by commenting in the comments section below. For more similar latest tutorials, stay tuned with our TUTEZONE section.


